By itself and without having seen the finished image this produces, this is one odd looking stamp, right?
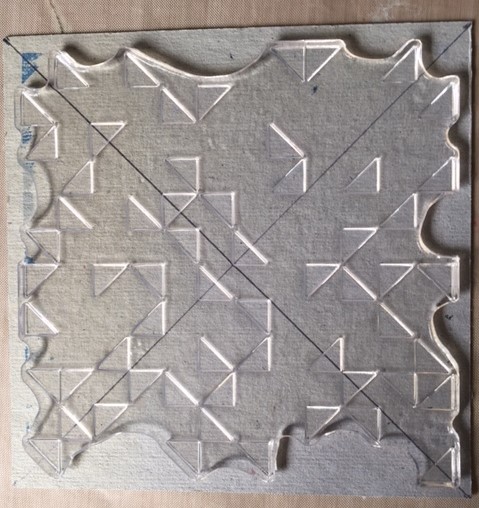
The first step to using this stamp is to make a template so that things will line up properly. There isn't anything difficult about this, but I will come back to this statement in a minute. The cardboard behind the stamp is 6 inches square with lines drawn from corner to corner.

This close-up of the center shows how you line up the triangles.

After placing this in a stamp positioning tool such as the MISTI shown above, you close the cover to adhere the stamp and add your paper to the cardboard template.


This piece is 5.75 x 4.75 inches.

In the above sample, I used Stampin' Up ink pads in Daffodil Delight, Delightful Dijon, Hello Honey and Peekaboo Peach. The result is much better than what I had previously but was a bit off. I cut a new template out of thinner cardboard. It turns out my first template wasn't exactly 6" square. Did I say creating the template wasn't difficult? It still isn't if you pay attention to what you are doing.


My next sample is 5" x 4" and uses Stampin' Up Denim Dandy, Lost Lagoon, Pacific Point and Tempting Turquoise ink pads.

First I tried the new template with the black cushion in the MISTI. That didn't work. I didn't think it would but decided to check. Much better below with the black mat back in place.


This turned out much better!

My last sample is 5" x 4.5". I used Tim Holtz Distress Inks in Salty Ocean, Seedless Preserves, Twisted Citron and Worn Lipstick.

Here they are, side by side, waiting to become the background of a card or perhaps die cut into some sort of embellishment.
No comments:
Post a Comment