I made this card for a friend's birthday. Her dachshund is an important part of her world. She lives in Florida where things grow and bloom much longer than here in Michigan. Also, she has a pool. Combine those elements and this is the card that I made.

People who stamp and make cards know about masking part of an image when combining two or more stamps. I was going to use that technique but the inner tube wasn't quite the right size for the doxie image.
These are the stamp sets I used: Newton's Nook Dress Up Doxies; Newton's Nook Floaty Goat; and Simon Says Stamp's Showers and Flowers.


Each of the stamp sets are clear. I didn't stamp the "hot dog" doxie, the inner tube, or the umbrella, I traced them. I held plain copy paper over the first image to a window and lightly traced the dog's head with ears extended. I roughly drew the inner tube and adjusted it for size before adding the umbrella.
I could have drawn all of this but this was quicker and I liked each element as is. I didn't need to reinvent the wheel. I cleaned up the sketchiness of my image and outlined it with a Copic Multiliner. The angle of the dog's hind legs is the same as the goat's but I shortened them and didn't trace the hooves. The front legs might be a bit too short in comparison, but this is a card, not an anatomy illustration.
The image is colored with Copics. A black gelly roll pen was used on the nose and a clear gelly roll pen was used on the inner tube. I cut the image out and glued it to paper from my stash that I felt looked like pool water. Here is the image before fussy cutting, and the pool paper behind it.

I had a cute image going, but it wasn't quite enough for the front of the card. Tim Holtz and Sizzix to the rescue! I used Funky Flowers #1 die set to make the foilage that frames the image.
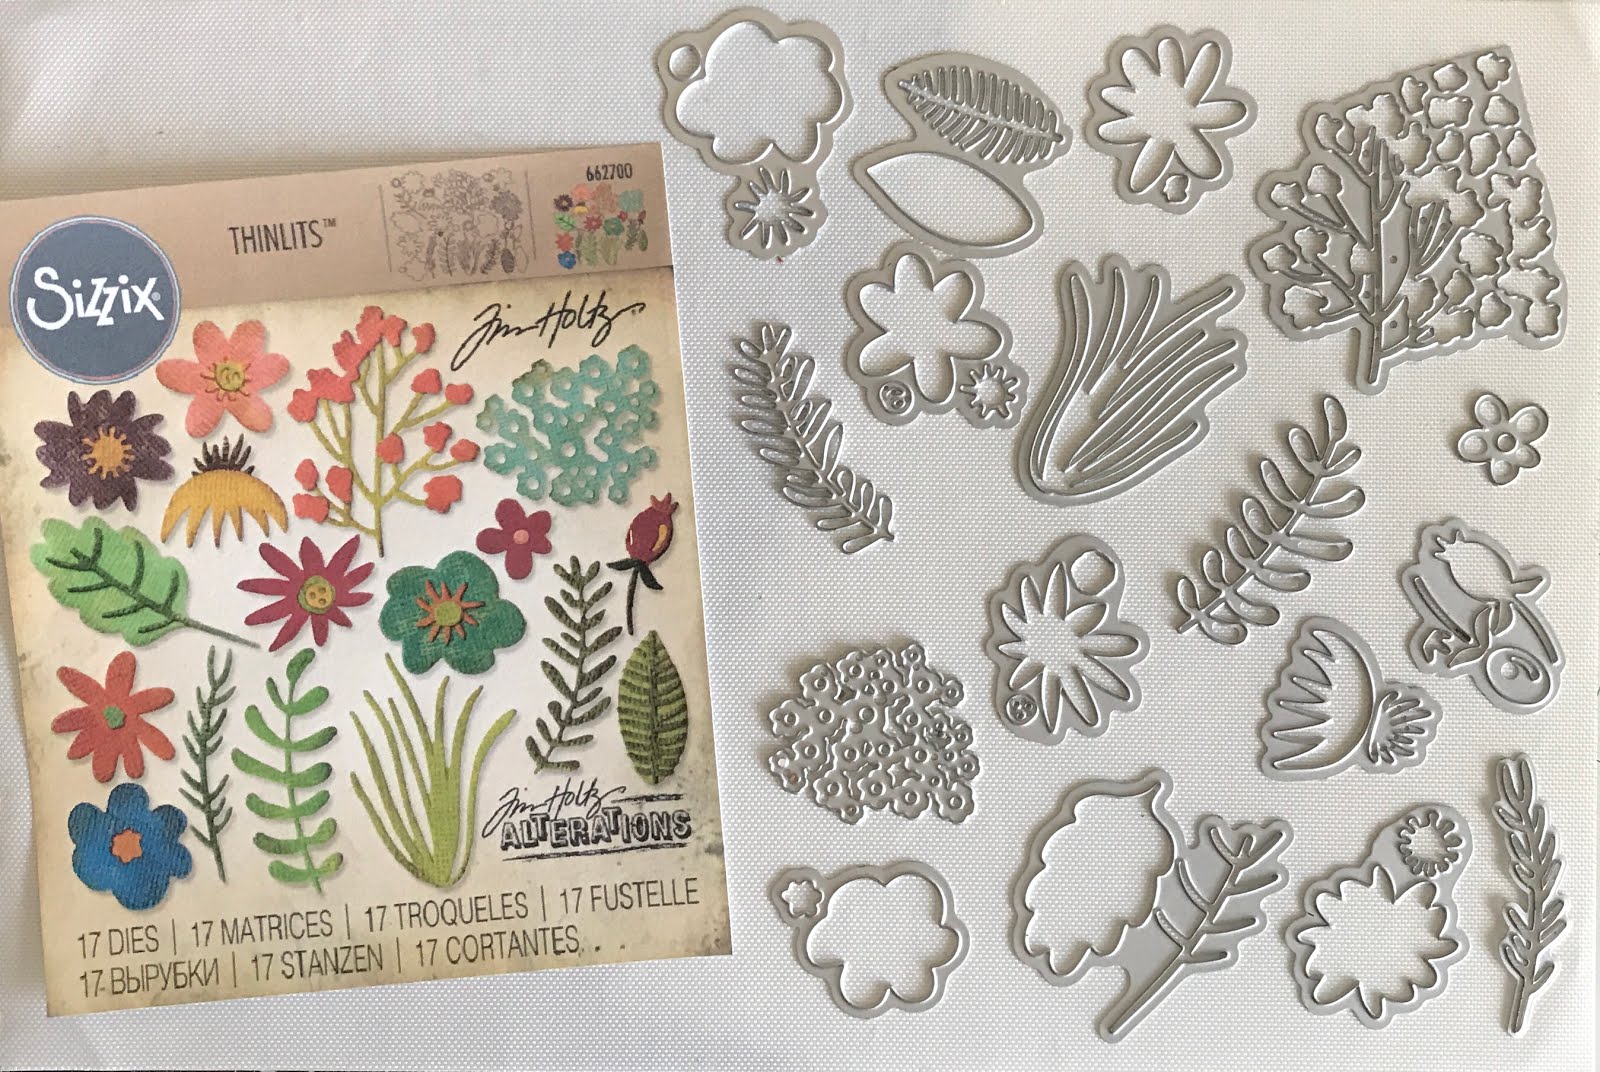
I like how this turned out. If you are interested in doing something like this, here is a MAJOR tip for you. If you have a scanner, copy your completed image just before coloring. When I use this again, I will adjust the color so that it prints in a light gray tone. I'd rather darken the lines myself with a marker after coloring a printed image. Besides not needing to do the work behind this composition again, I can enlarge it if I want. I don't have "fancy" programs to do that, I put the image in Word and enlarge it before printing. My Brother printer, scanner and copier combo handles Copic friendly paper well.